In this Photoshop Tutorial, you’ll learn how to create a beautiful notes app Icon. We’ll be using simple shapes, gradients and textures to achieve our icon design. So what are we waiting for, let’s get started!
[m2leep]
Final Result
Tutorial Resources
The following resources are required to complete this tutorial.
- 17 Coffee Stain Brushes
- Paper Texture Photoshop Brushes Set
- 11 Free Seamless Pixel Patterns for Photoshop
- Art Brush Font
- Pacifio Font
[adsense]
Step 1
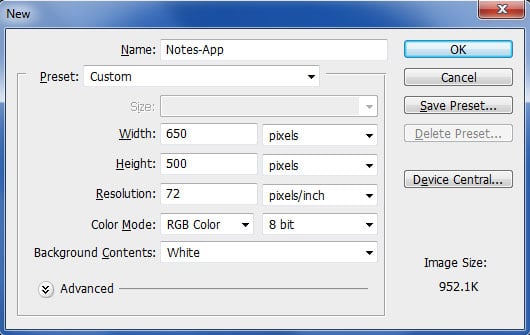
Create a new document with the following settings below.
Step 2
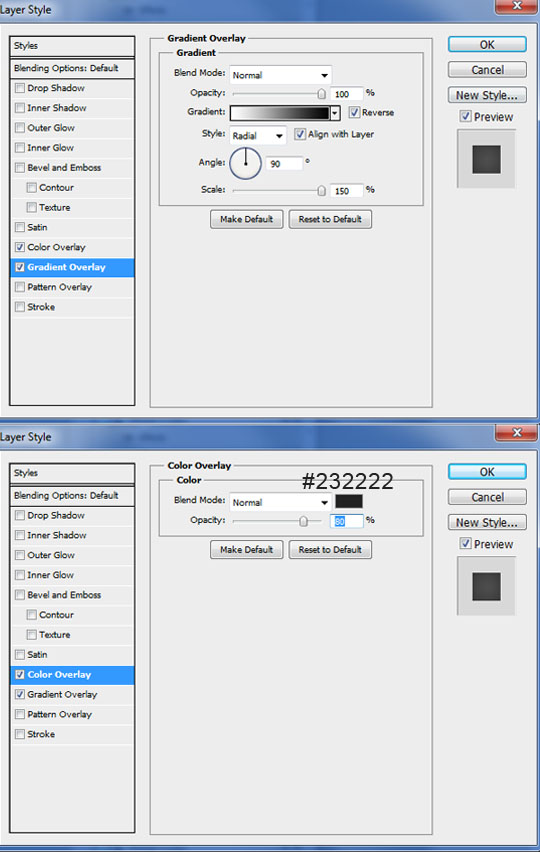
Double click on the background layer to unlock it, then again to go into Blending Options. Put in the following options below to create the background.
Step 3
Select the Rounded Rectangle Tool (U) and make the Radius 30px. Draw the main shape for the Note App while holding down the Shift Key (to keep the shape perfect) using the colour white. Double click on the shape layer to go into Blending Options and put in the following options below.
Step 4
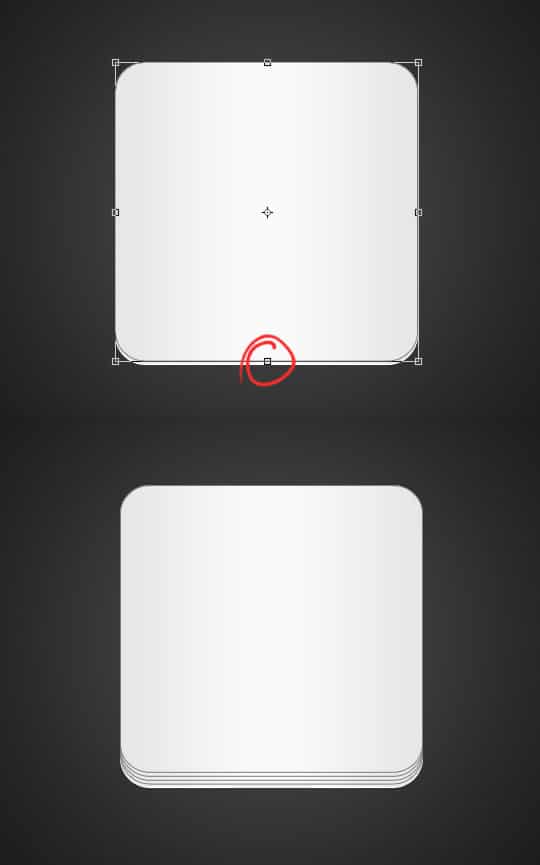
Duplicate the box layer by dragging it to the new layer icon. On the duplicated layer, press CTRL+T to bring up the Transformation Tool, drag the bottom middle node up slightly. Repeat this step until you’ve got a paper effect.
Step 5
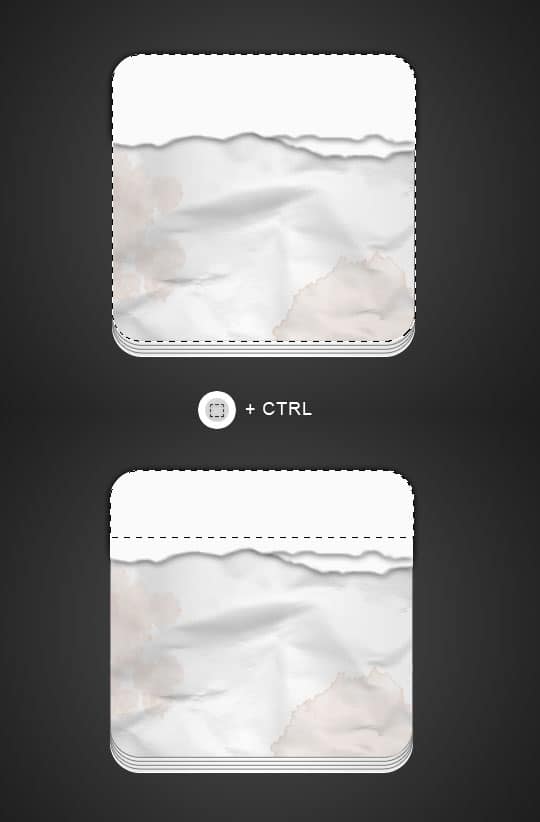
Next hold down the CTRL Key and click on the layer thumbnail (circled below) of the top white box to active the Marquee.
Step 6
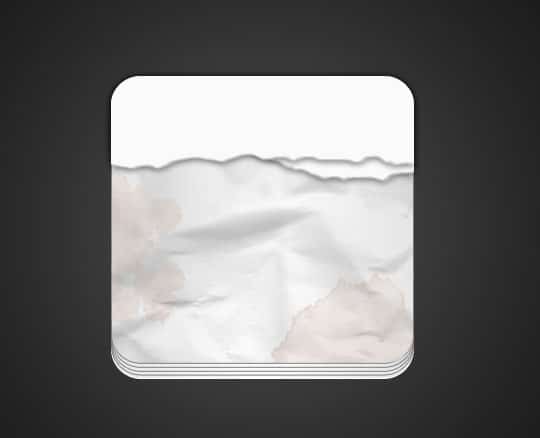
While the shape is activated, create 2 new layers. Select one of the Paper Texture Brushes and click once on one of the layers using a light grey. Next select a Coffee Stain Brush, and brush on a couple of stains on the second layer.
Step 7
Duplicate the Top White box and drag the layer over the 2 brush layers you just created. Double click into Blending Options and remove the Gradient Overlay and Stroke options and put in th Drop Shadow Options below. Next using the ‘Oil Medium Wet Flow’ Brush, brush away the bottom to create a ripped paper effect.
Step 8
Repeat Step 9 and create another layer of ripped paper.
Step 9
Now to create the binder of the note app. Repeat Step 5 and activate the Marquee. Select the Rectangular Marquee Tool, hold down the CTRL Key and click over the bottom area to remove it to have a shape like below left over.
Step 10
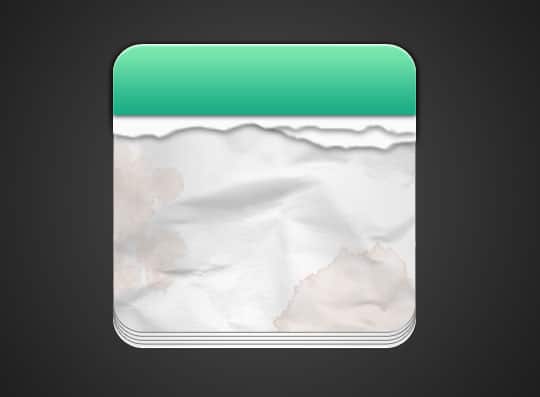
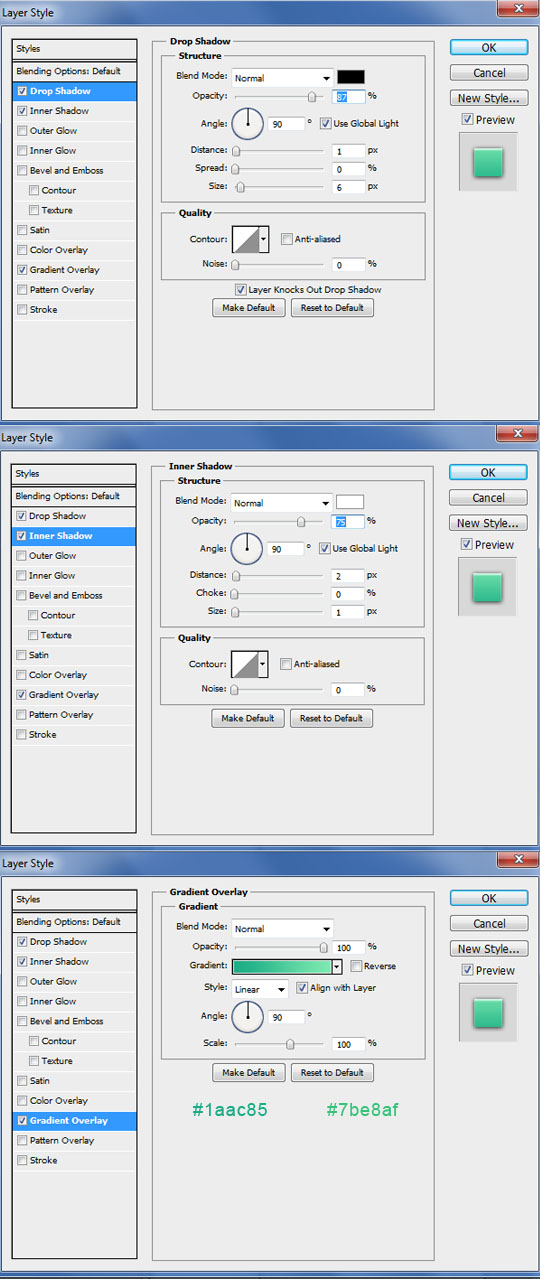
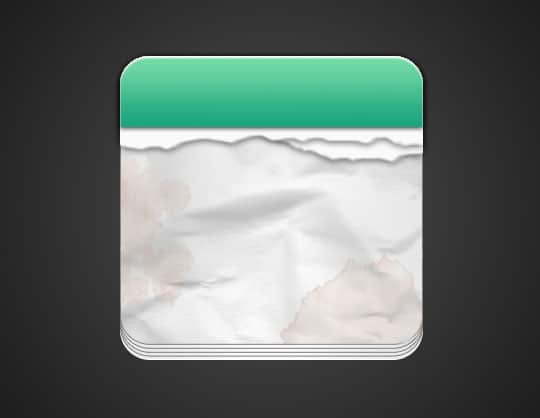
Create a new layer and fill the leftover shape white and duplicate the layer. On the first layer go into Blending Options and put in the following:
Step 11
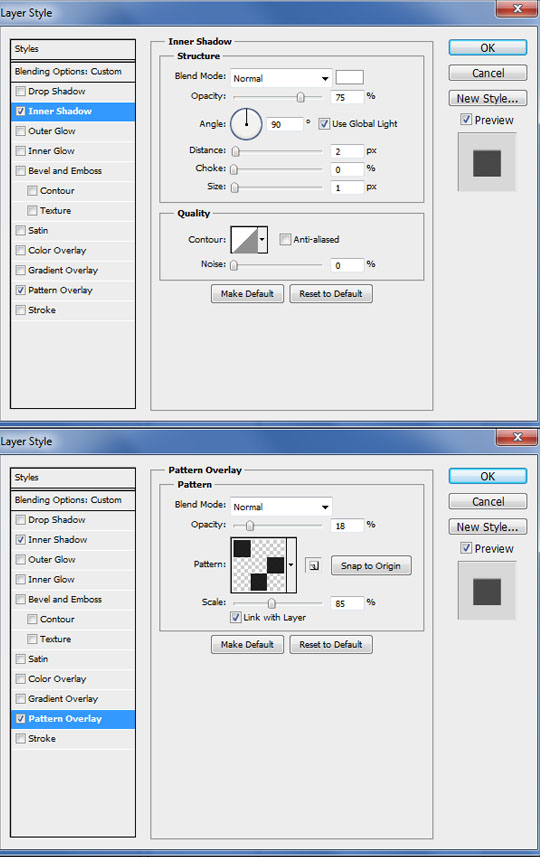
On the second layer, set the Blending Mode to Multiply, go into Blending Options and put in the following options where will be placing an Inner Shadow and a Pattern to create a nice subtle effect.
Step 12
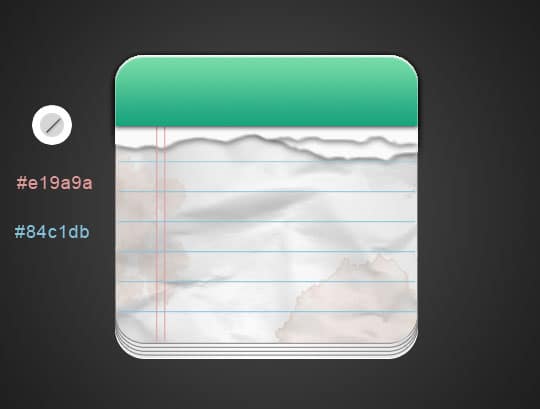
Using the Line Tool (1px) draw out some lines for the paper using the colours below. To keep the lines straight hold down the Shift Key.
Step 13
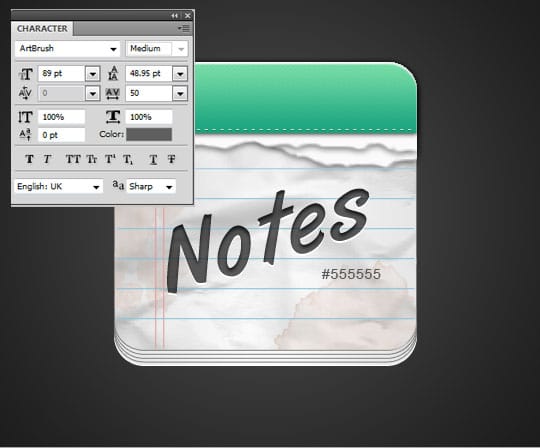
Next to place a stitching effect on the binder, select the Type Tool (T) and write out the minus symbol many times across using the colour and Character type below. To finish it off double click into Blending Options and put in a Drop Shadow.
Step 14
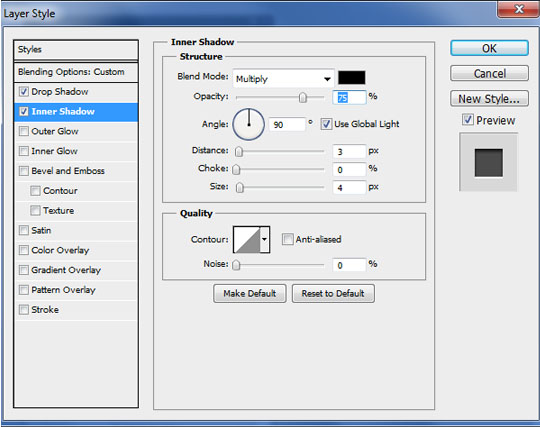
Lastly write out some text on your Note Icon. Double click into Blending Options and put in a Drop and Inner Shadow to add a nice effect.

